The fall equinox is this upcoming Sunday and we’ve got a week of cooler, autumnal weather in the forecast. In order to have something to harvest when summer crops slow down, we have to plant in the August and September heat. Hot temperatures stress transplants and many seeds won’t germinate in high temperatures, so cooler temperatures are very welcome. Otherwise, we have to be vigilant with watering, using our sprinklers to keep the soil damp and cool enough for seed germination.
Depending on where you look, you can see beds ready to be planted, neat rows of transplants, and small plants popping through the soil. Everything looks so little, orderly, and weed-free, a contrast to the summer crops which now stand tall and gangly, sharing the field with a few more weeds than is ideal.
Transplanting is easy to talk about and explain; it’s easy to show how it works, but what about direct seeding? How do we get the seeds in the ground? As far as I can tell, it’s never been a topic for the News from the Farm, so let’s dive in!
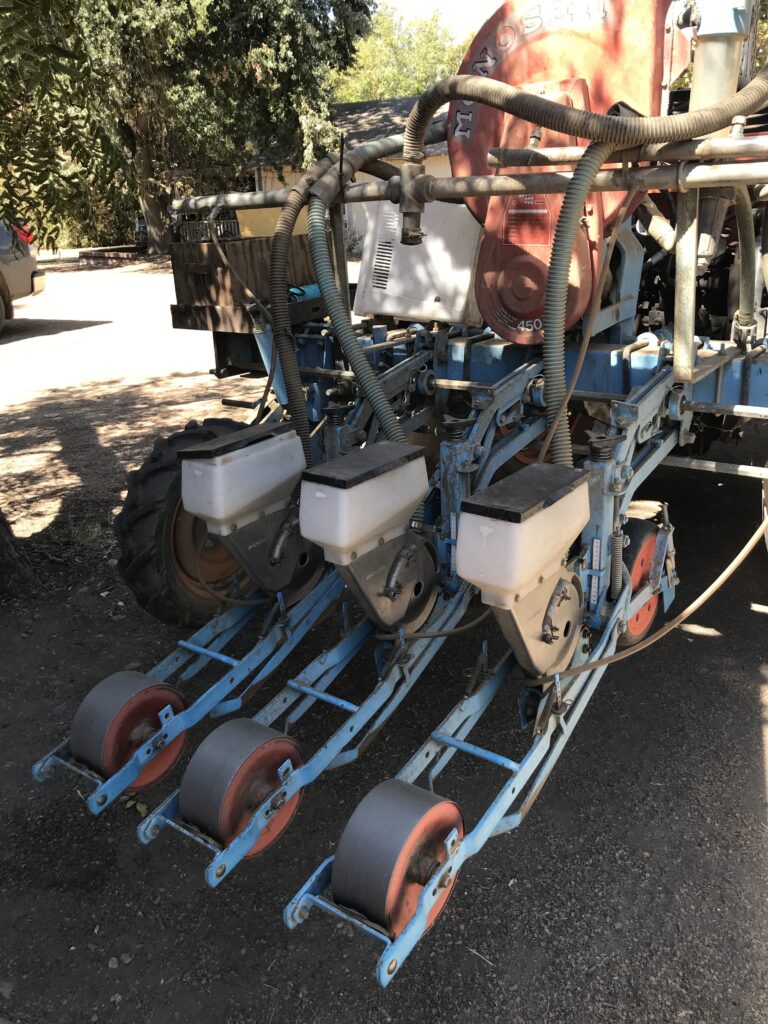
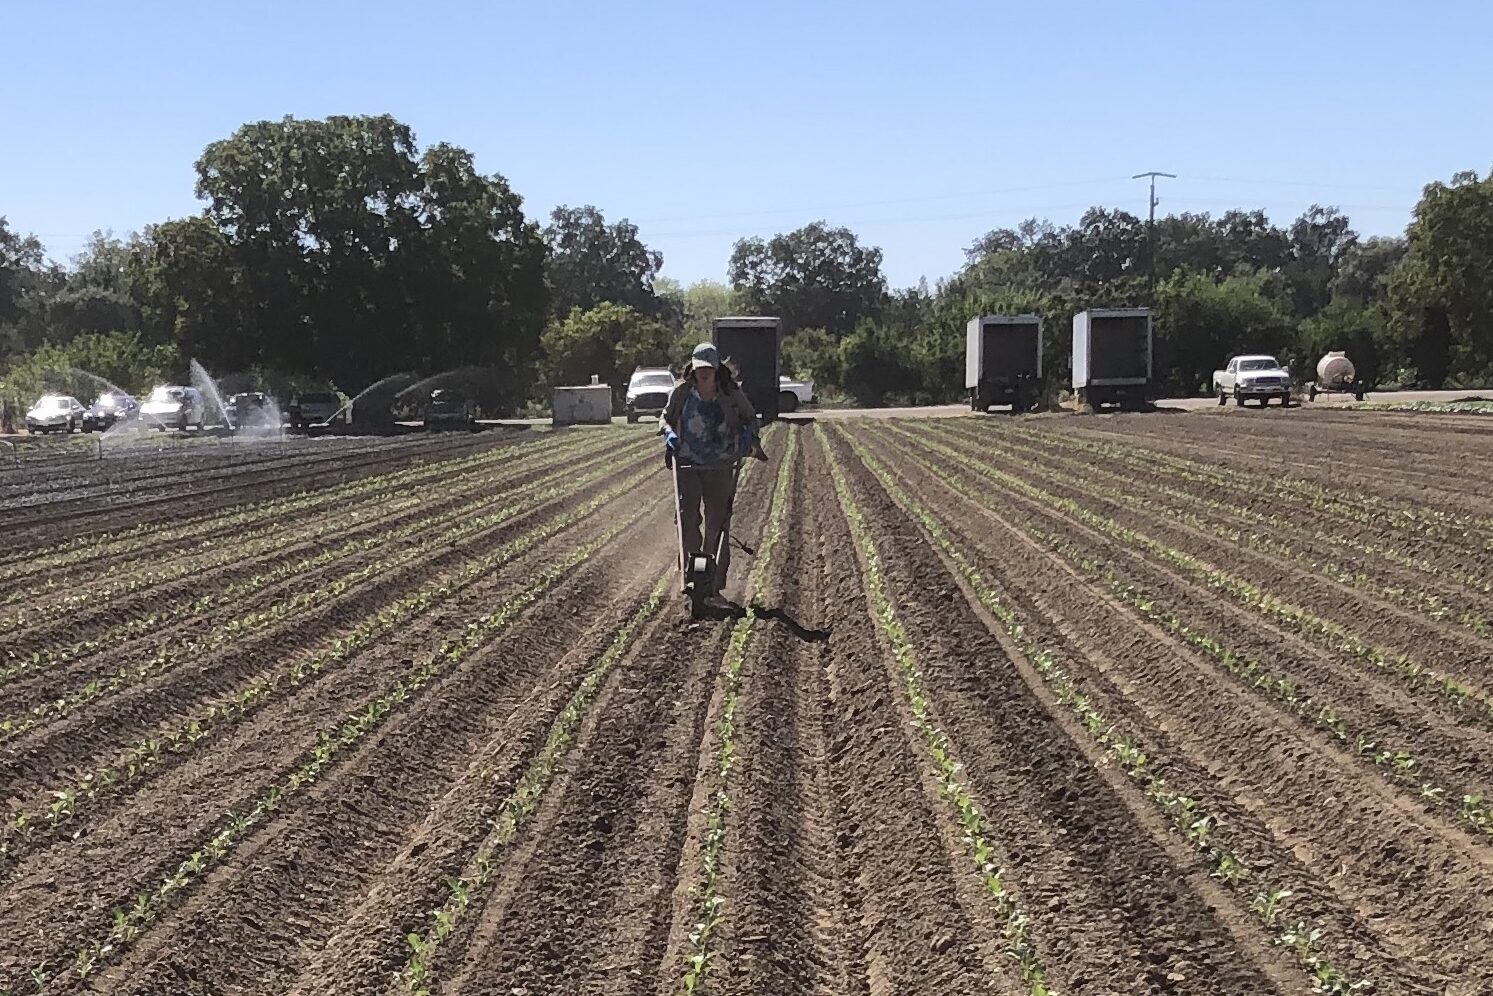
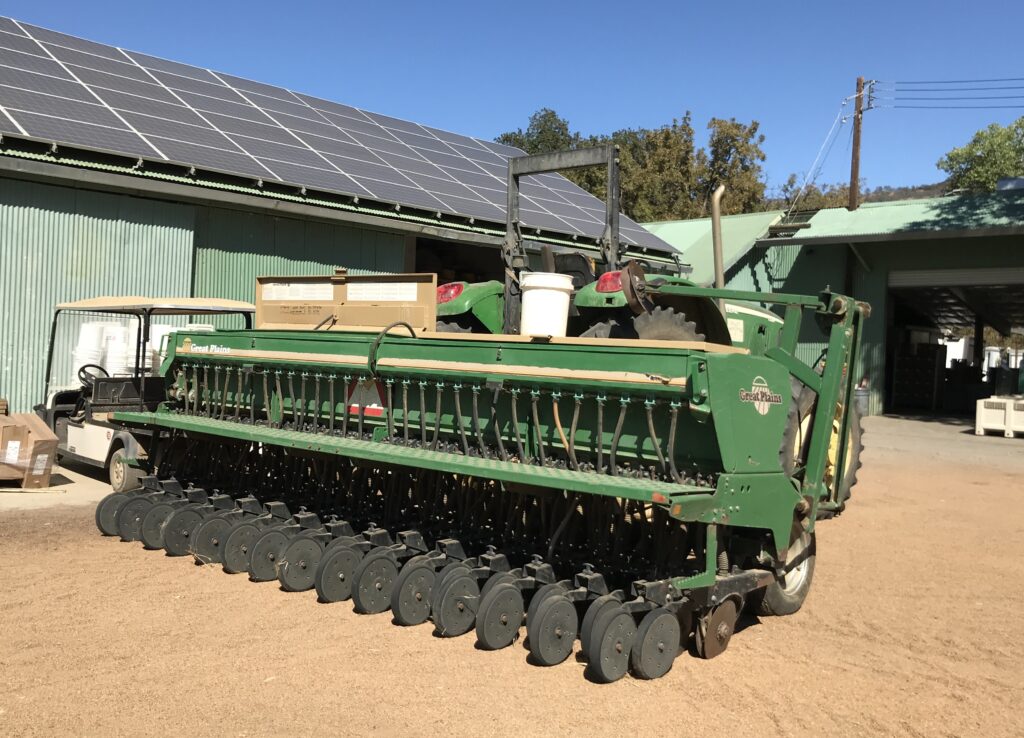
We aren’t direct seeding by hand. We have too many seeds to plant to do that, and human hands aren’t consistent enough to drop just one seed at a time at consistent spacing. For vegetables and flowers, we use Monosem precision planters, pulled by a tractor. We have two three-bed planters for sunflowers, winter squash, cucumbers, corn, melons, and more (calibrated to plant one or two rows of seed per bed), and a one-bed planter (in the photo above) that we use for flowers, leafy greens, roots, and other vegetables, planting one to three rows of seed. In the rare cases when we direct-seed a single row between transplants (i.e. an insectary mix in between two rows of broccoli), we use a human-powered planter that you push (photo below on the left). For planting wheat and cover crops, we use a grain drill, which spans the width of three rows, and plants five rows of seeds per bed (photo below on the right).
Regardless of the style, all planters have a similar setup. You pour the seeds into a hopper, then as you move forward and parts start to rotate, the planter opens up a furrow in the soil, drops seeds into the ground, then covers the seed with soil. Precision planters plant just one seed at a time, at a precise spacing. To accomplish this, the planter uses plates with small holes, plus air pressure. As the tractor moves, the plate rotates, each hole picks up one seed (which are held in place with air pressure), then when the seed gets to the 6-o’clock position, the air is released and that seed is dropped into the ground. Need a visual representation? This video isn’t the exact planter that we have, but gives an idea of what’s happening inside, and this video shows our planter from the outside.
Take a look at some of the seed plates below. Andrew has helpfully written what seeds he uses for each plate. These groupings often will influence what gets planted next to each other; once you have the seed plates on, it’s easier to plant as much as you can with that plate before changing it!
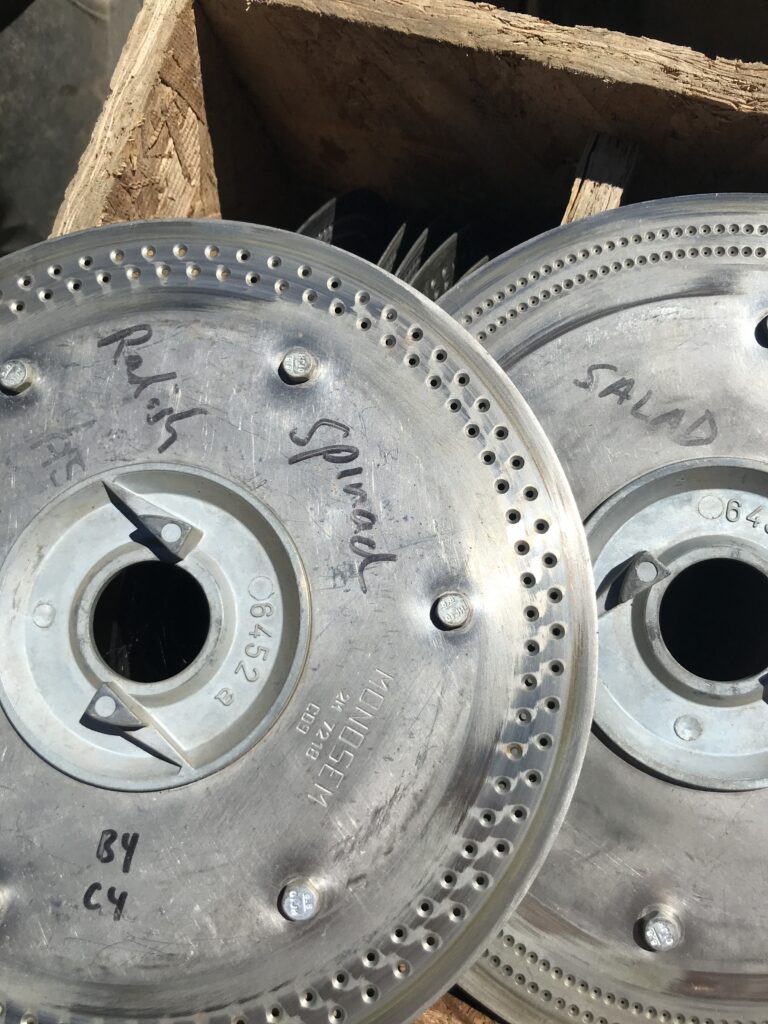
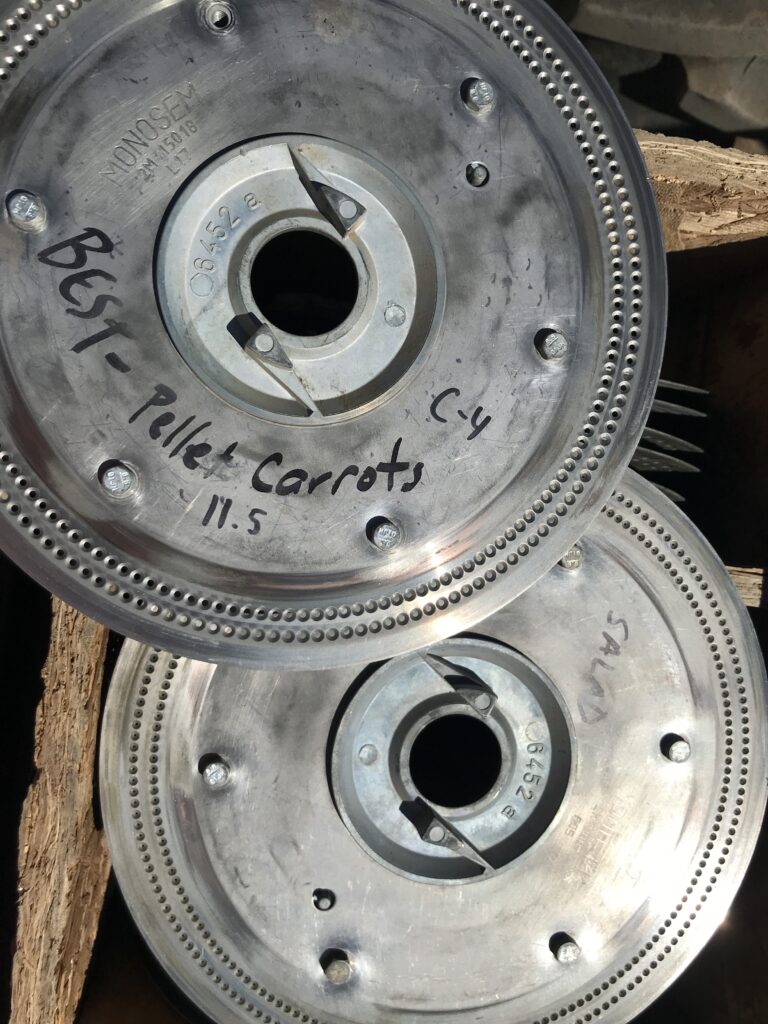
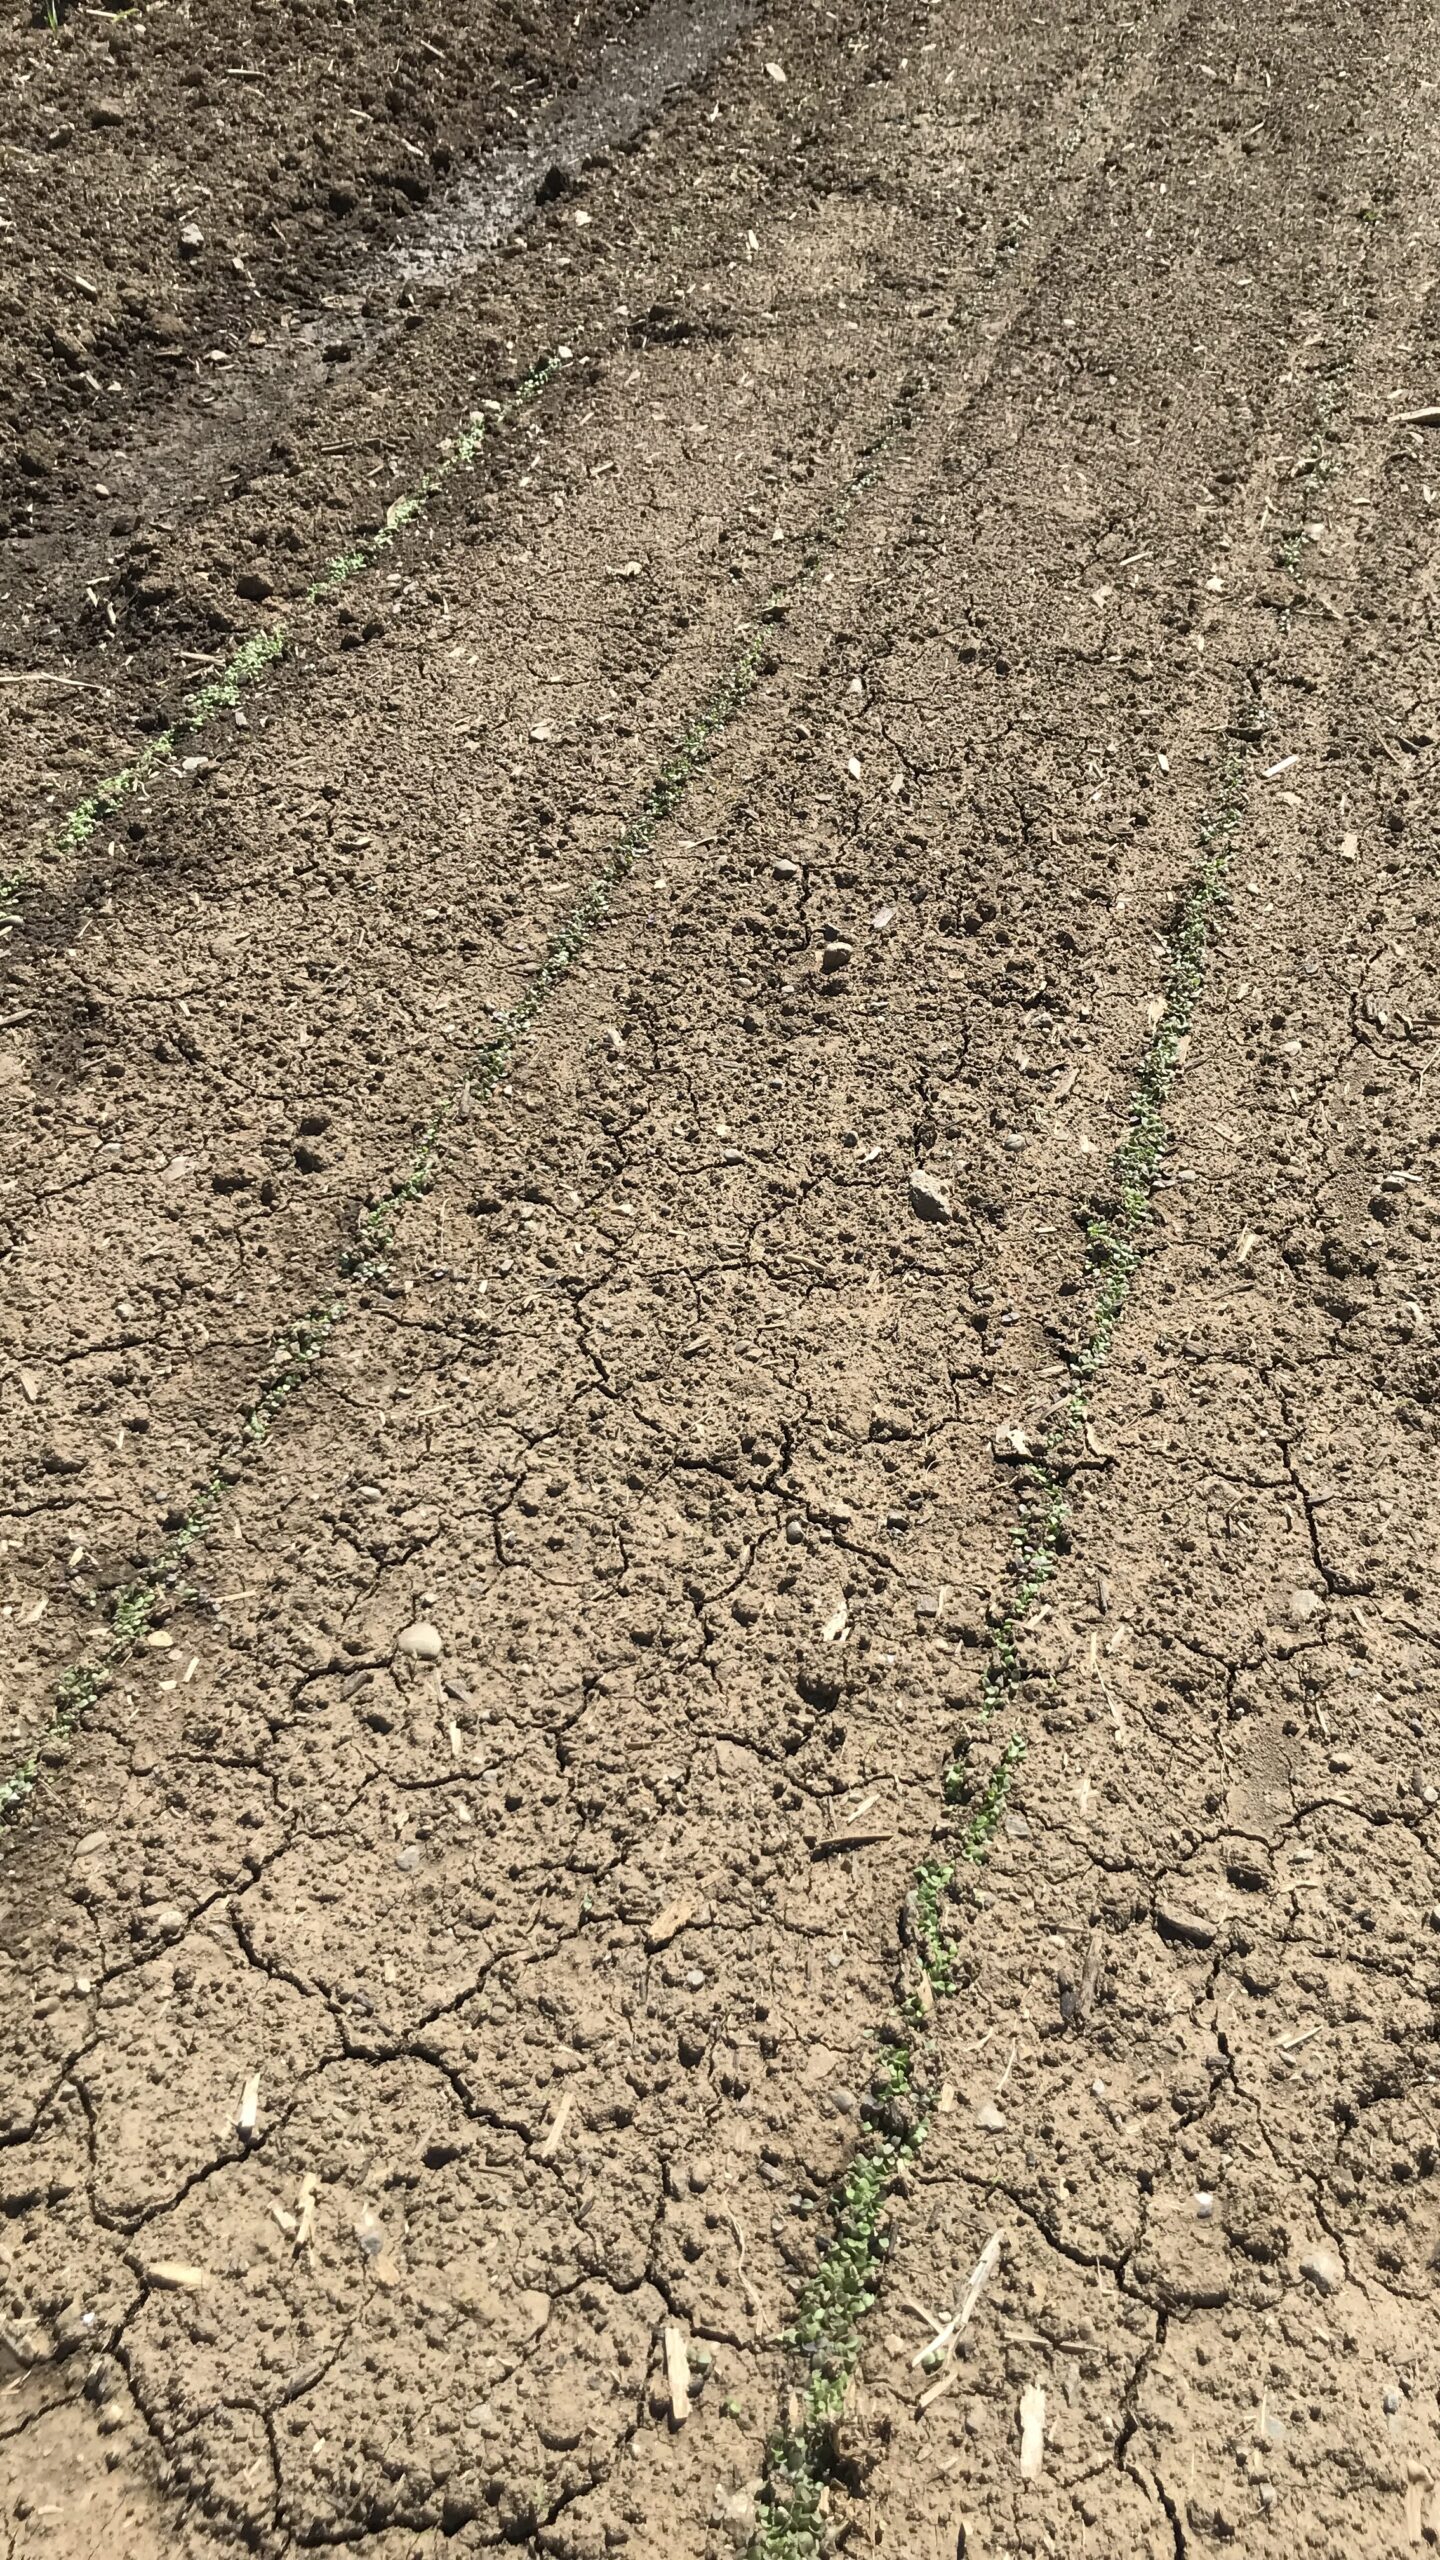
The plates do much better with round seeds or large seeds. For small, irregular shaped seeds (like carrots and lettuce seeds, which look like caraway seeds), we often buy pelleted seeds, which have a clay coating to make them round and larger, thus work better with our planters. Unfortunately, not all seeds have pelleted versions, especially not the flowers, and not for all vegetables. In those situations, more than one seed is planted at a time and we need to thin out the seeds later. The picture below shows some recently germinated non-pelleted lettuce seed – it looks like a carpet!
If you’d been curious about how we plant, now you know!
Elaine Swiedler, CSA Manager (with a LOT of help from Andrew Brait!)
